· Roman Kovac · Tutorials · 4 min read
Run Local Copilot Killer on Older AMD GPUs with ROCm and HIP SDK
Learn how to run a powerful AI assistant locally on older AMD GPUs with ROCm and HIP SDK. Set up Ollama for AI-driven coding in VS Code.

In this guide, I’ll show you how to run a local AI assistant similar to Copilot on your older AMD GPU, using Ollama and ROCm with the HIP SDK. With this setup, you can use a powerful code assistant right inside VS Code, even on unsupported GPUs like the RX 6600. Let’s walk through the setup and get everything running!
Supported AMD GPUs
First, here’s the full list of AMD architectures supported by this method:
- gfx803: AMD R9 290, AMD R9 Fury
- gfx902: AMD Ryzen 5 2400G
- gfx90c: AMD Instinct MI100
- gfx1010: AMD RX 5700
- gfx1011: AMD Ryzen 9 4900HS
- gfx1012: AMD Ryzen 5 PRO 4650U
- gfx1031: AMD Radeon Pro 6800M
- gfx1032: AMD RX 6600, RX 6650 XT, RX 6600 XT
- gfx1034: AMD RX 6800
- gfx1035: AMD RX 6700 XT
- gfx1036: AMD RX 6900 XT
- gfx1103: AMD 780M APU
If your GPU is one of the models listed, follow the steps below to get things working!
Step 1: Install ROCm Stack
The first step is installing the ROCm stack, which enables GPU computing on AMD hardware. It’s AMD’s version of CUDA (for NVIDIA GPUs).
- Download the AMD ROCm HIP SDK from this link.
- Follow the installation prompts and install the ROCm software.
The ROCm stack provides the infrastructure needed to offload AI tasks to your GPU, which is critical for running local models efficiently.
Step 2: Install Ollama
Next, we’ll install a community-modified version of Ollama that adds support for older GPUs like the RX 6600.
- Download the Ollama setup file from this link.
- Run the installer and follow the setup process.
- Quit Ollama from system tray.
This modified version supports additional GPUs that are not listed in Ollama’s official documentation, enabling local AI inference.
Step 3: Download the Necessary ROCm Libraries
Ollama needs certain libraries to run properly with ROCm. To make sure your GPU works correctly, we’ll need to download a specific HIP SDK file:
- Visit this GitHub release page and download the latest file similar to
rocm.gfxXXX.for.hip.sdk.6.2.XXX.7z. Make sure to download the correct file for your GPU architecture - see the list above. - Extract the contents, create
rocblasfolder and movelibraryfolder into it
Now, place the extracted files in the appropriate directories:
For ROCm:
Navigate to
%ProgramFiles%\AMD\ROCm\6.2\bin.Overwrite any existing files within this structure:
%ProgramFiles%\AMD\ROCm\6.2\bin\rocblas.dll
%ProgramFiles%\AMD\ROCm\6.2\bin\rocblas\library\
For Ollama:
Navigate to
%LocalAppData%\Programs\Ollama\lib\ollama.Overwrite any existing files within this structure:
%LocalAppData%\Programs\Ollama\lib\ollama\rocblas.dll
%LocalAppData%\Programs\Ollama\lib\ollama\rocblas\library\
Step 4: Verify GPU Utilization
After completing the installation, it’s time to verify that your GPU is being used correctly by Ollama. To do this, you’ll need to check the log files.
- Start Ollama, right click and choose ‘View Logs’.
- Inside, locate the
server.logfile. - Open the log file with a text editor and search for the following log entry:
level=INFO source=types.go:107 msg="inference compute" id=0 library=rocm variant="" compute=gfx1032 driver=6.2 name="AMD Radeon RX 6600" total="8.0 GiB" available="7.8 GiB"If you find this log, Ollama is correctly running on your AMD GPU.
Step 5: Integrate Ollama with VS Code Using Continue
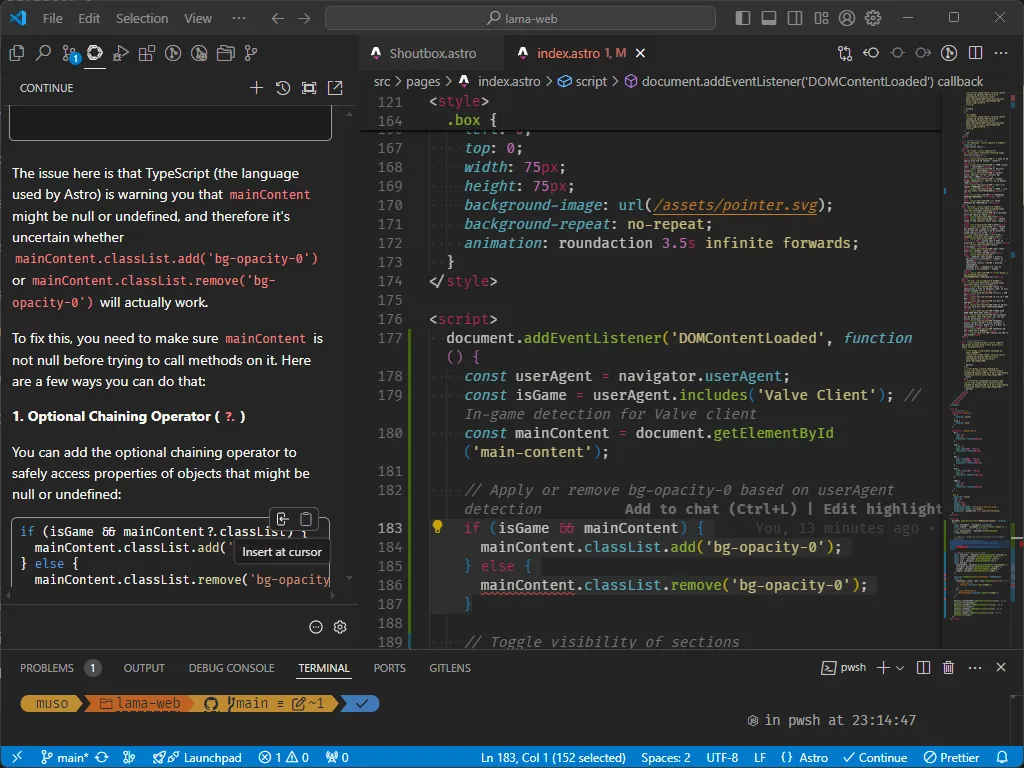
To take full advantage of Ollama’s capabilities, you can integrate it with VS Code by using the Continue extension. Continue allows you to run AI-powered code suggestions, acting as a “Copilot killer,” without the need for cloud-based solutions.
- Install the Continue extension from the Visual Studio Marketplace.
- Open the extension in VS Code and follow the setup wizard.
When prompted to install models, I recommend choosing the default options, such as Llama 3.1, which provides a good balance between speed and accuracy for local code generation tasks.
How to Use Continue in VS Code

Once installed, Continue adds an AI assistant to your development environment, similar to GitHub Copilot. Here’s how you can start using it:
- Open any project in VS Code.
- Start typing your code or comments, and Continue will automatically suggest completions or improvements based on the context.
- You can also trigger the AI suggestions manually by pressing
Ctrl+Enter(orCmd+Enteron macOS).
With this setup, you’ll have a local AI code assistant running directly on your machine, powered by your AMD GPU and the ROCm stack.
Conclusion
With these steps, you’ve successfully set up a local alternative to Copilot, using Ollama and Continue, even on older AMD GPUs. This solution enables powerful, private, and efficient AI code completions directly inside your editor. Enjoy building and coding with your new AI assistant!
If you run into any issues or need additional assistance, feel free to reach out to me.


